

KEY TAKEAWAYS
- Decision trees are graphs that can help you make better choices based on different scenarios.
- Excel is a great place to design decision trees. You can use both templates and create one from scratch.
- You'll need to both use shapes and fill out text to create your decision tree in Excel.
By creating a decision tree in Microsoft Excel, you can free up a lot of brain capacity that would otherwise have been spent trying to determine which opportunities are the best. We'll show you how to design decision trees in Excel both from scratch and with a template.
What Is a Decision Tree, and Why Should You Make One?
A decision tree is a simple graph that gives you a “Yes” and “No” answer to different scenarios. You can use decision trees in multiple areas of life, including for your studies and personal life.
Well-designed decision trees offer several advantages. You can set clear parameters about when you’ll perform specific tasks and actions, meaning you don’t need to worry about regret or decision fatigue. Moreover, you will be able to make better-educated decisions in general and also understand the consequences of your actions.
How to Make a Decision Tree in Excel From Scratch
Now that you know more about what a decision tree is and why you should use one, let’s look at how to make a decision tree in Excel. First, we’ll show you how to design one from scratch.
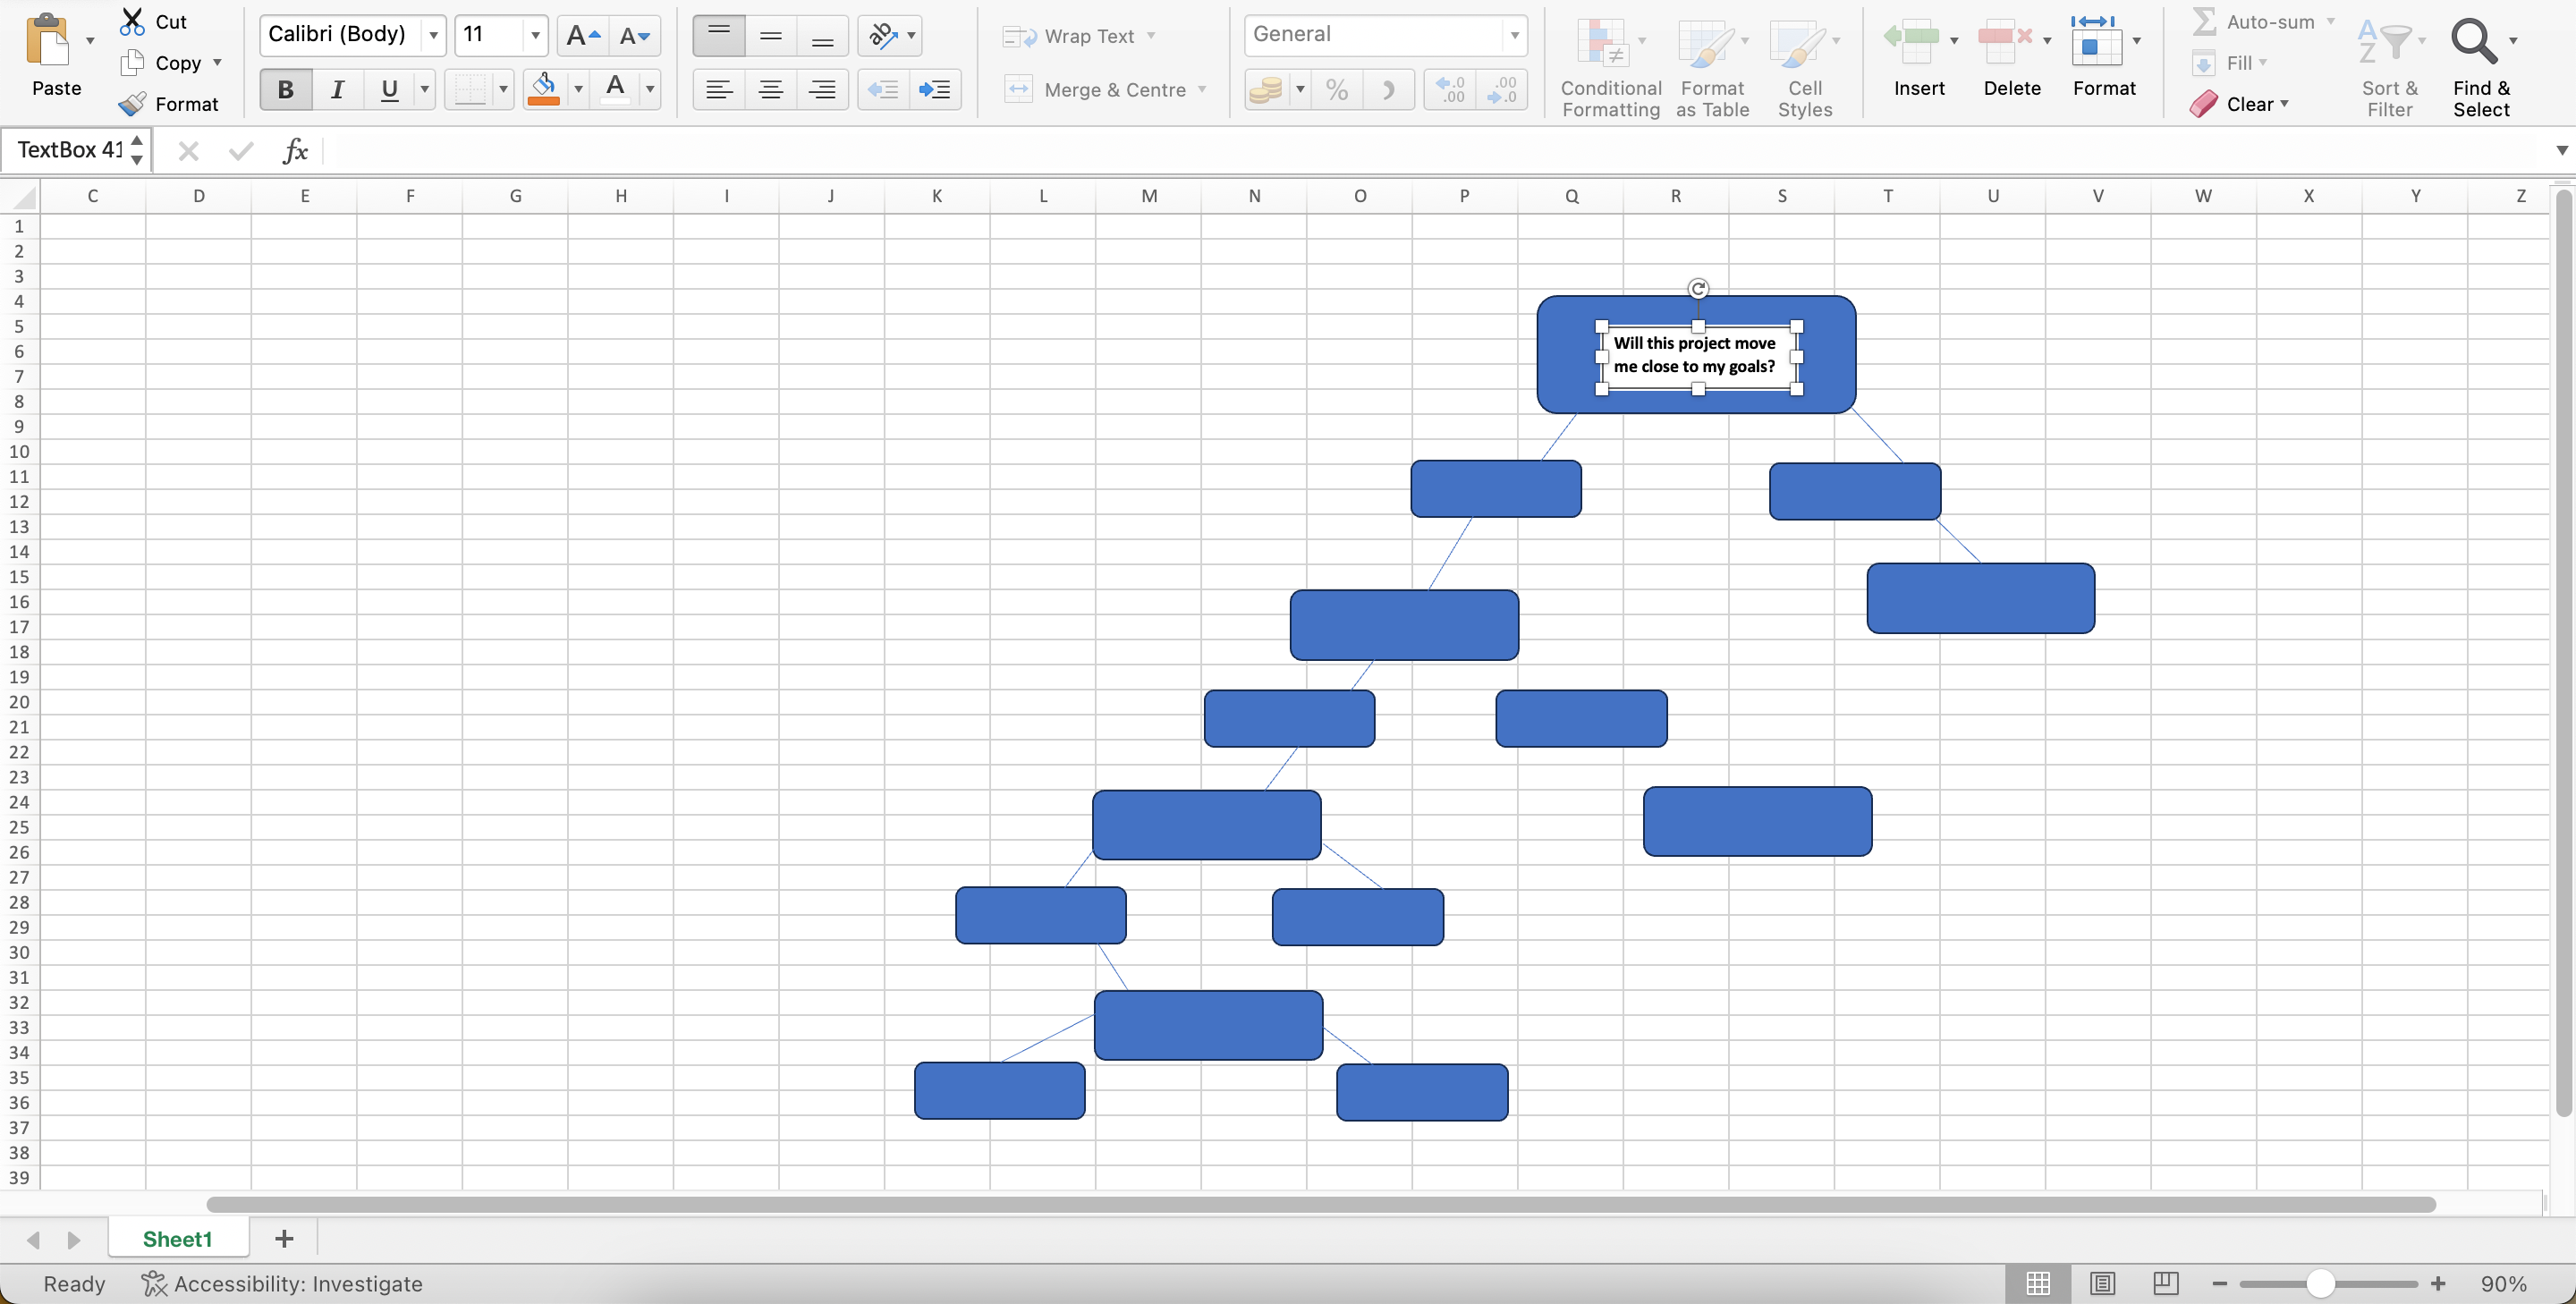
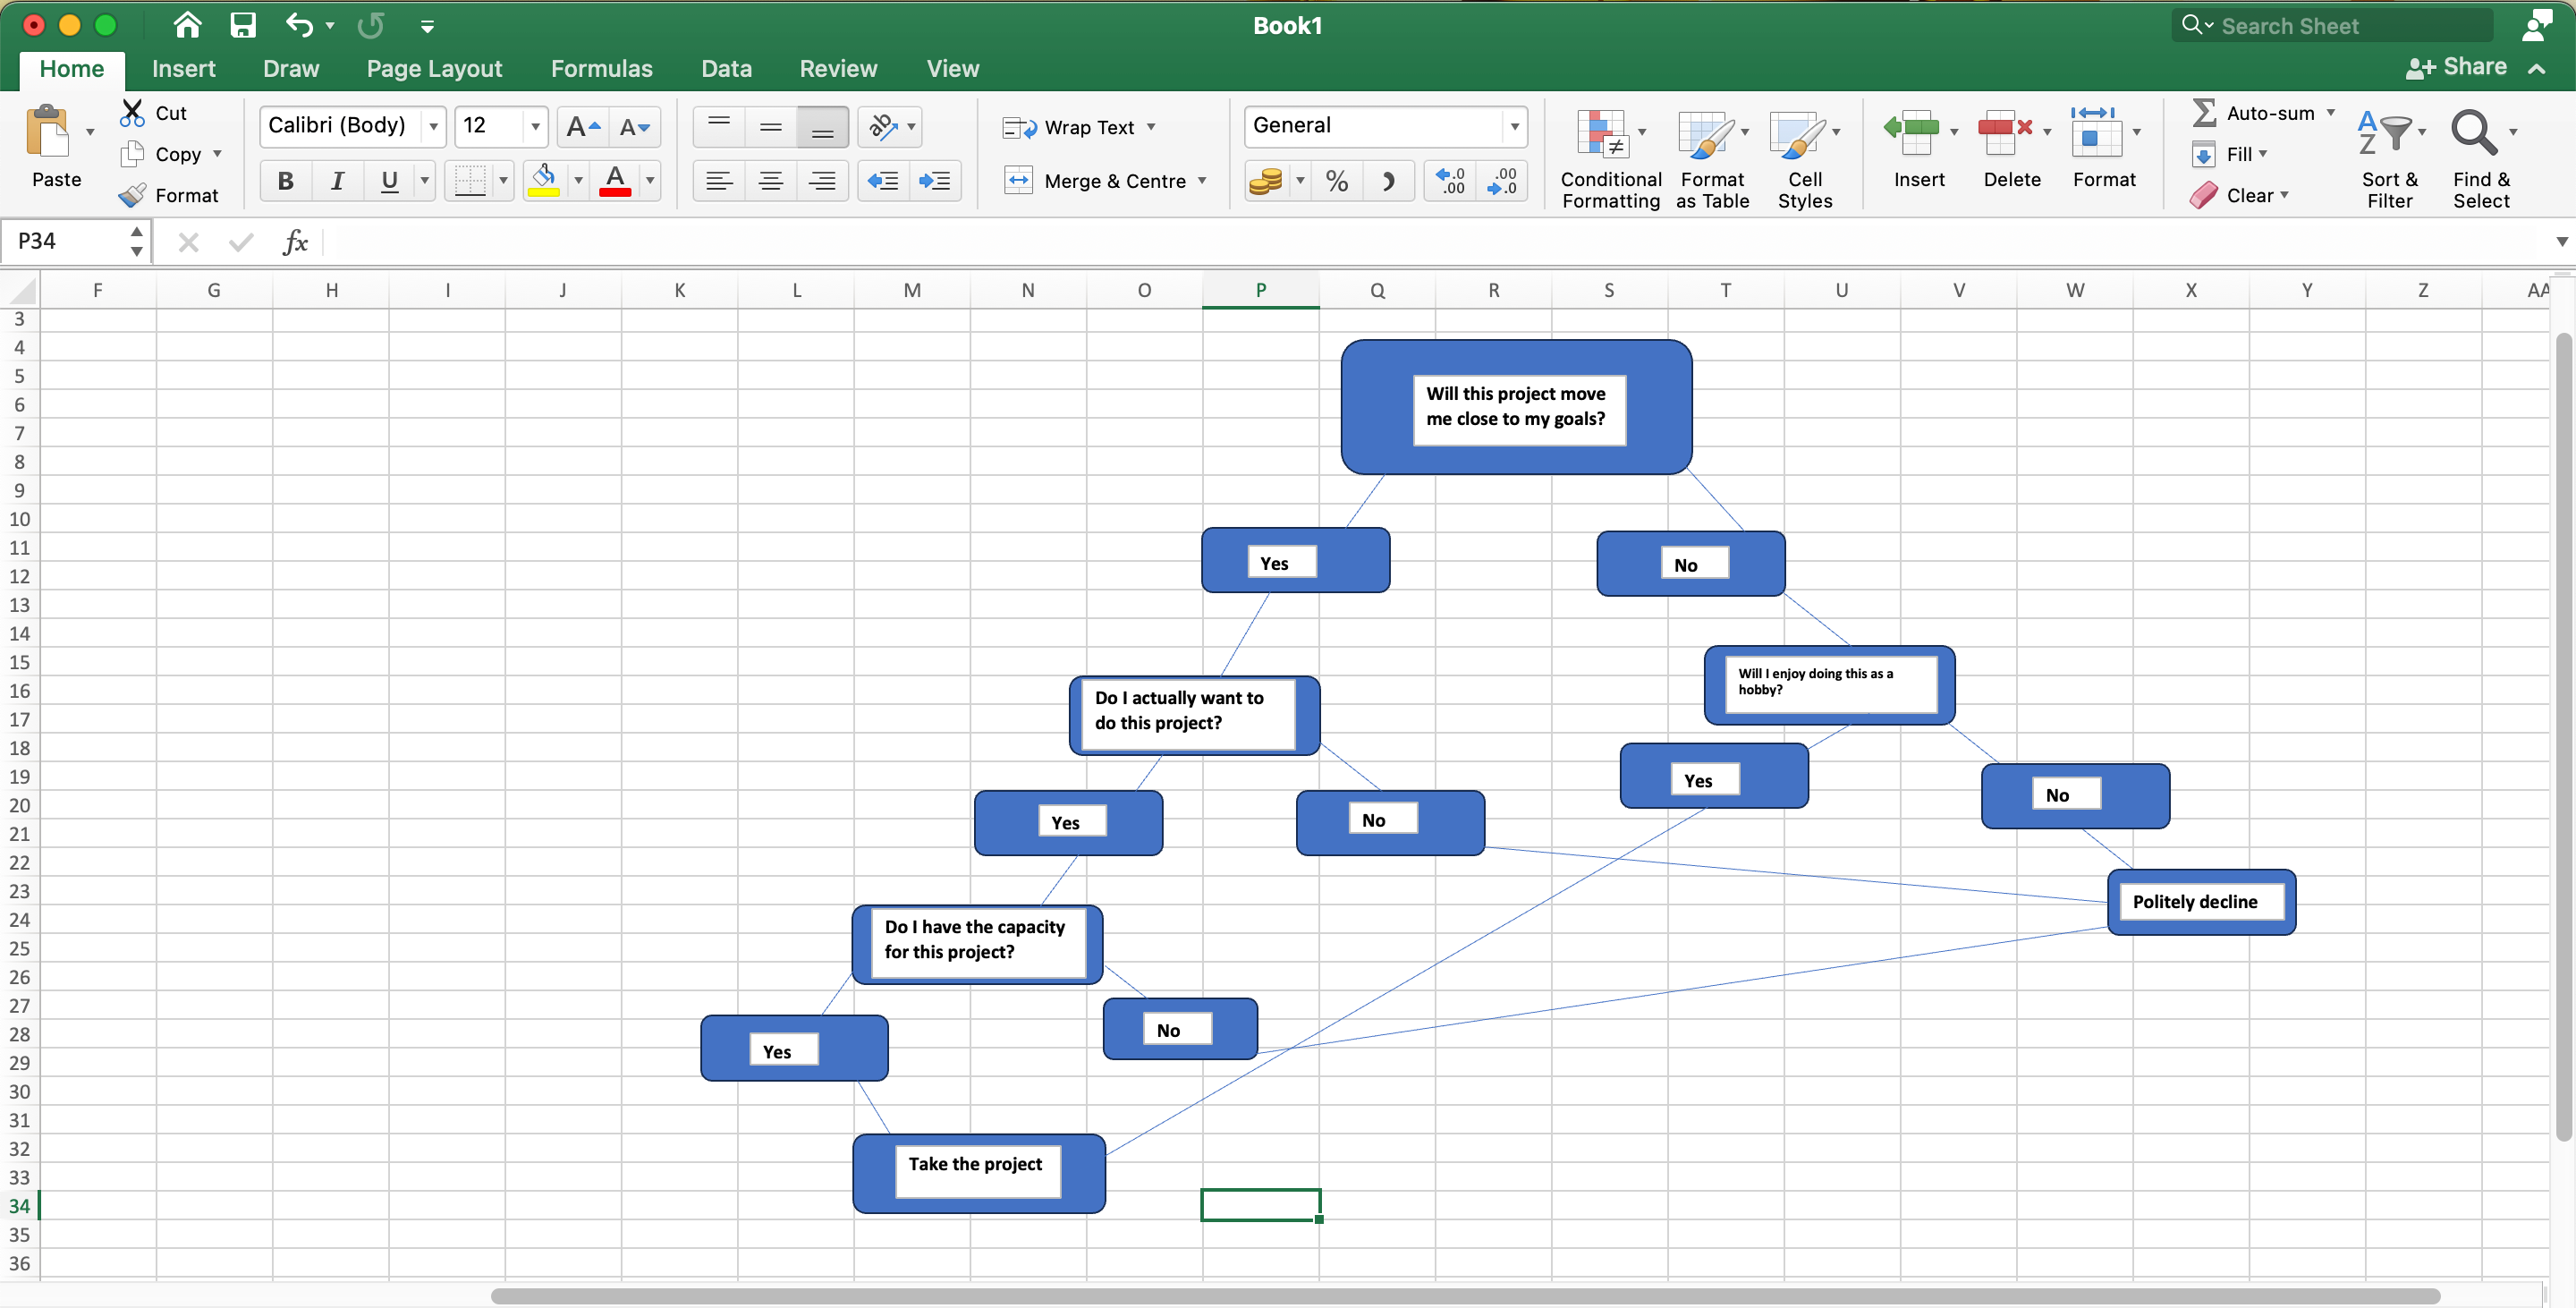
In the example below, we’ll use a decision tree to decide whether to take on a freelance project.
How to Add Shapes and Lines for a Decision Tree in Excel
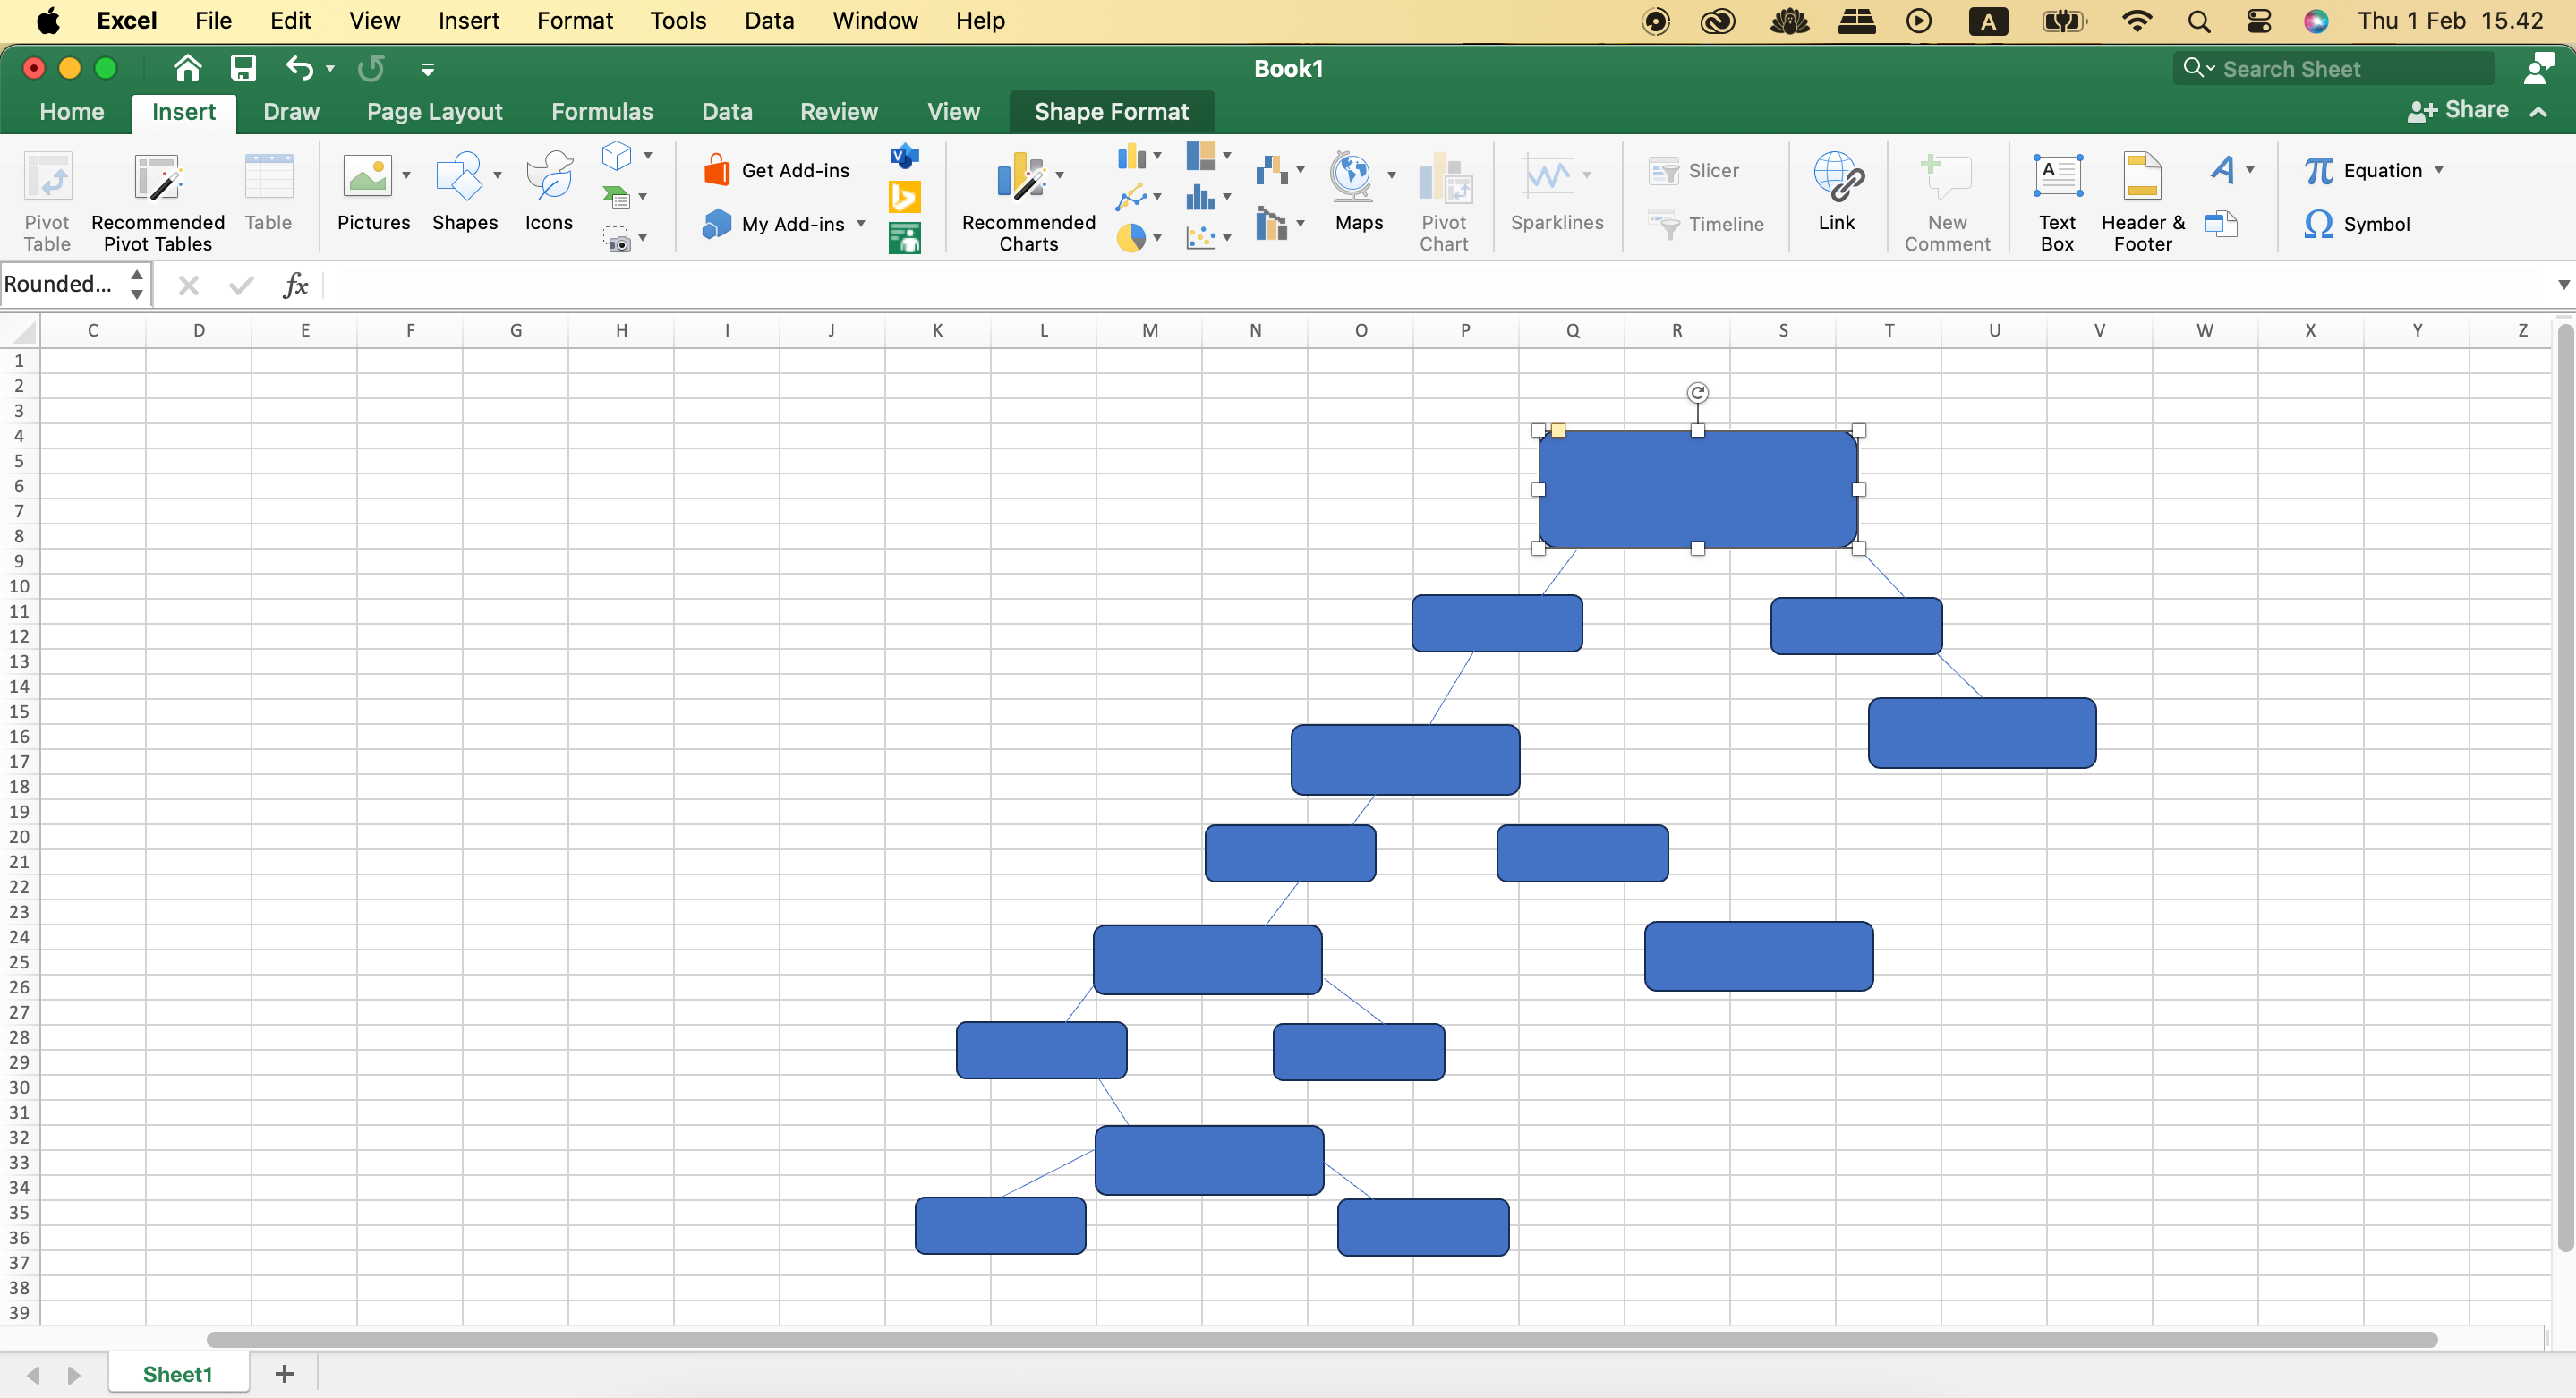
The fundamental aspect of your decision tree in Excel is to add your shapes and their connecting lines. Follow these steps to do that:
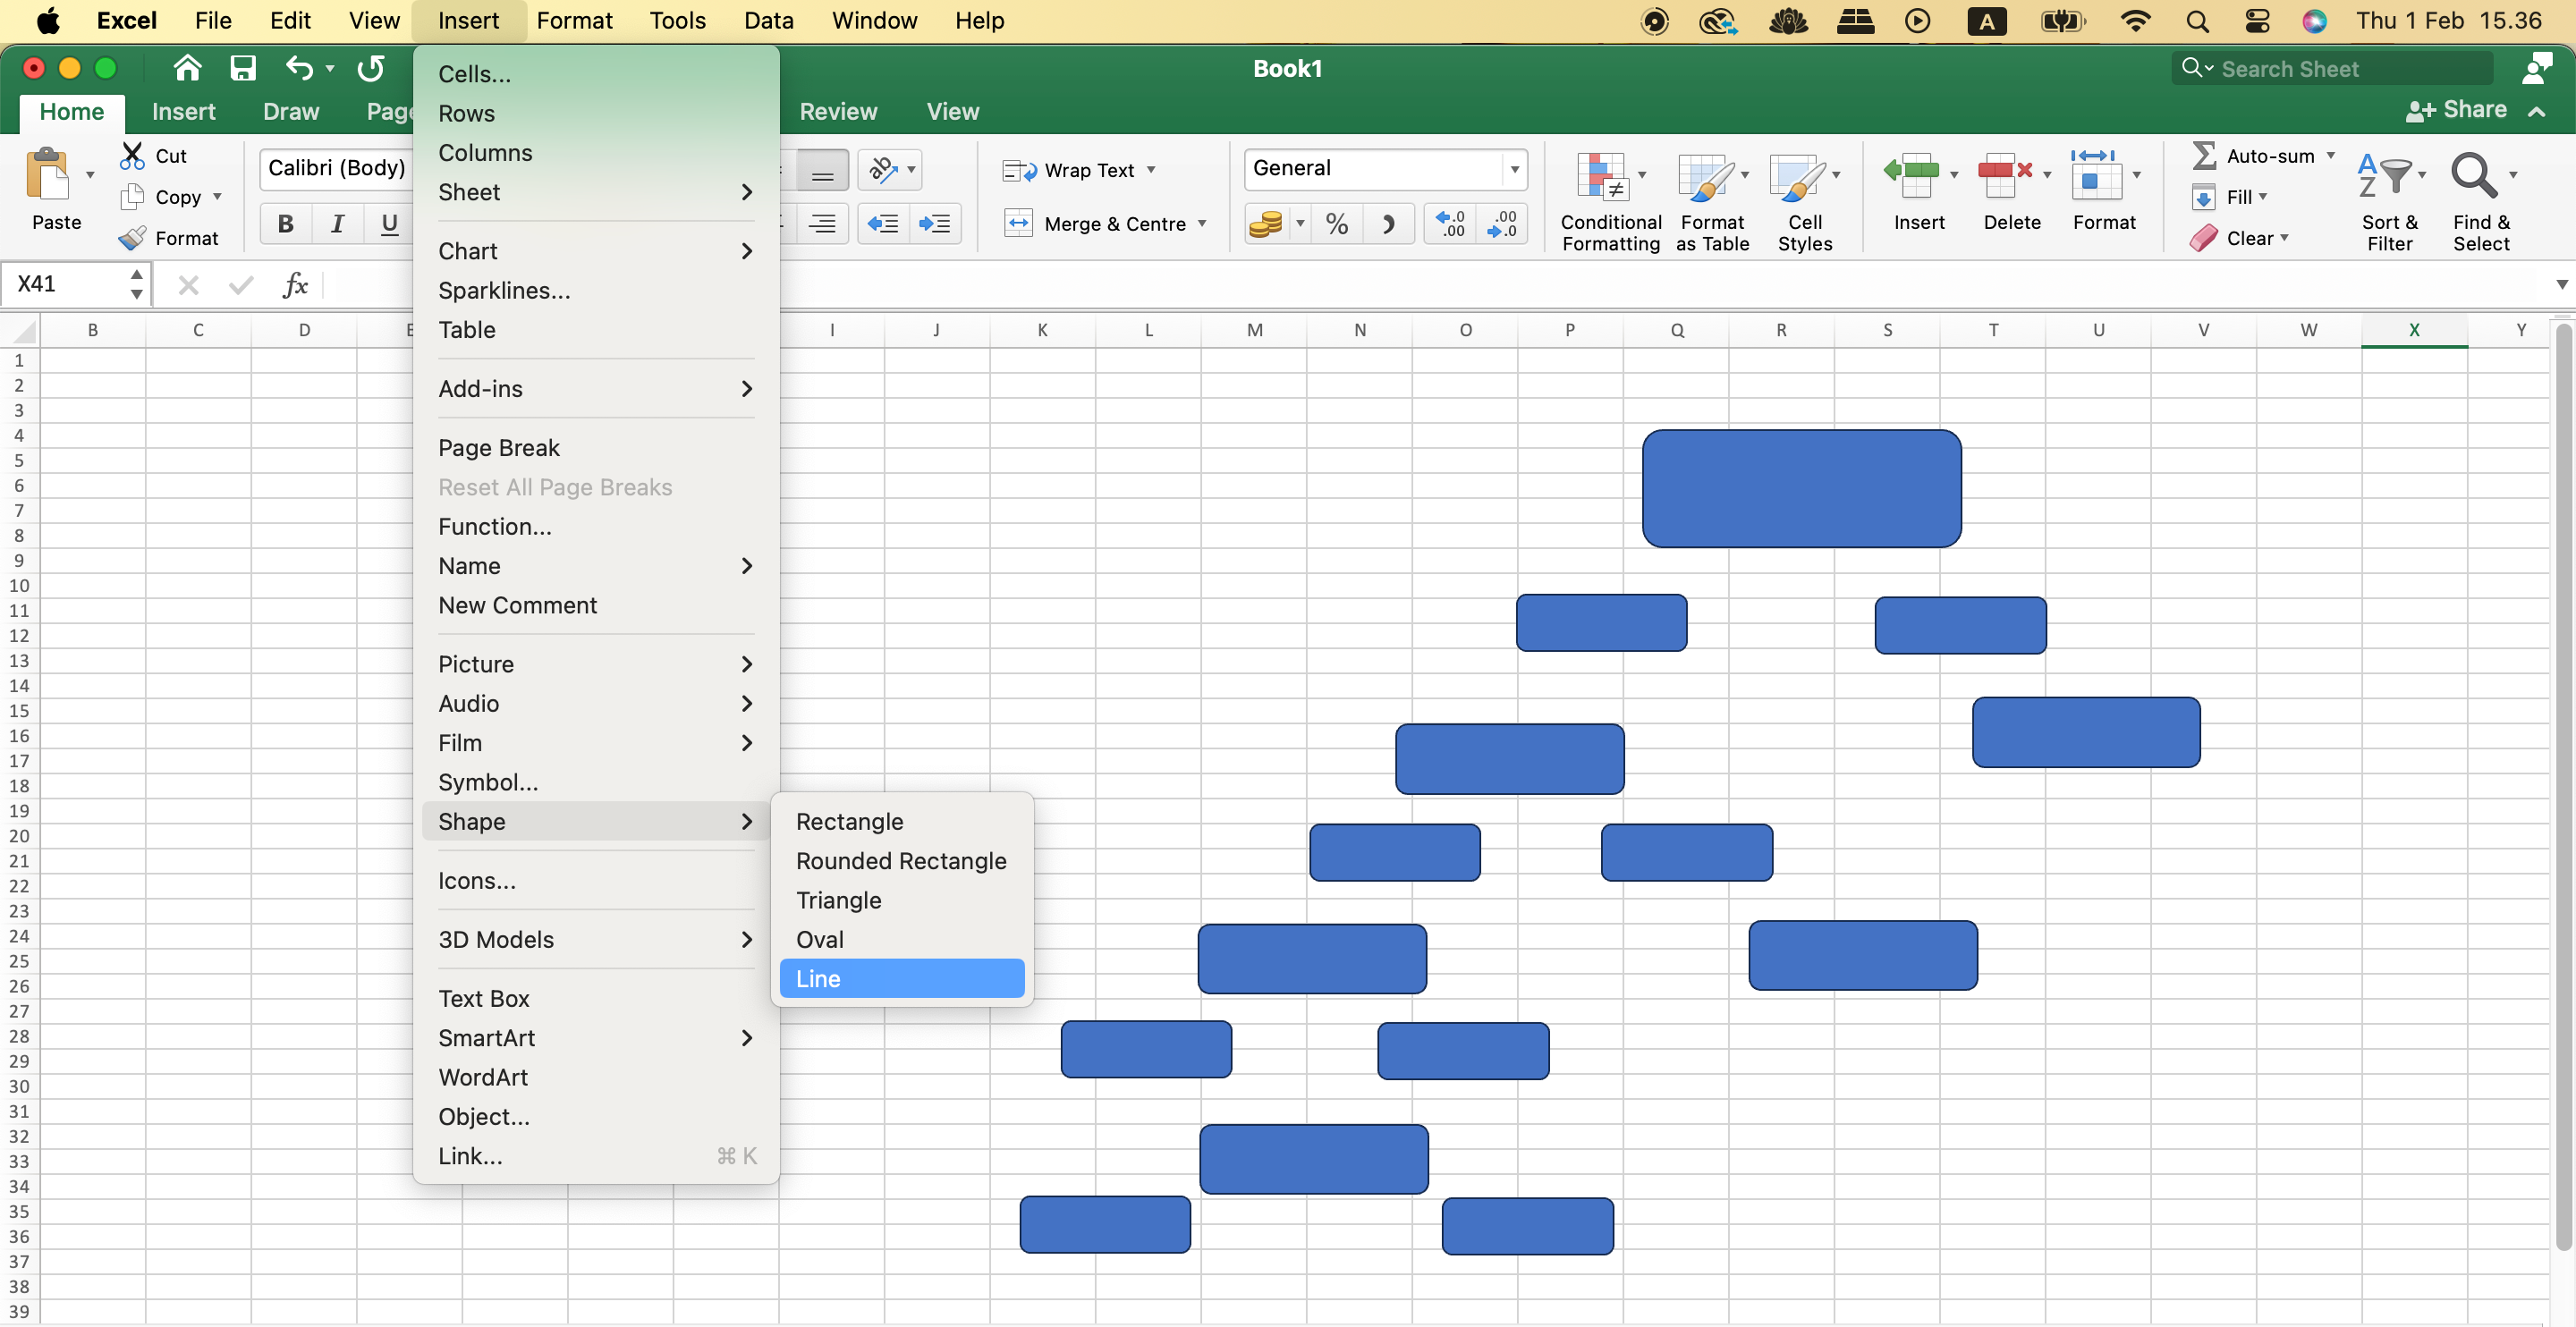
- Go to Insert > Shape. You can do this via either the toolbar at the top or via the Insert tab in Excel.
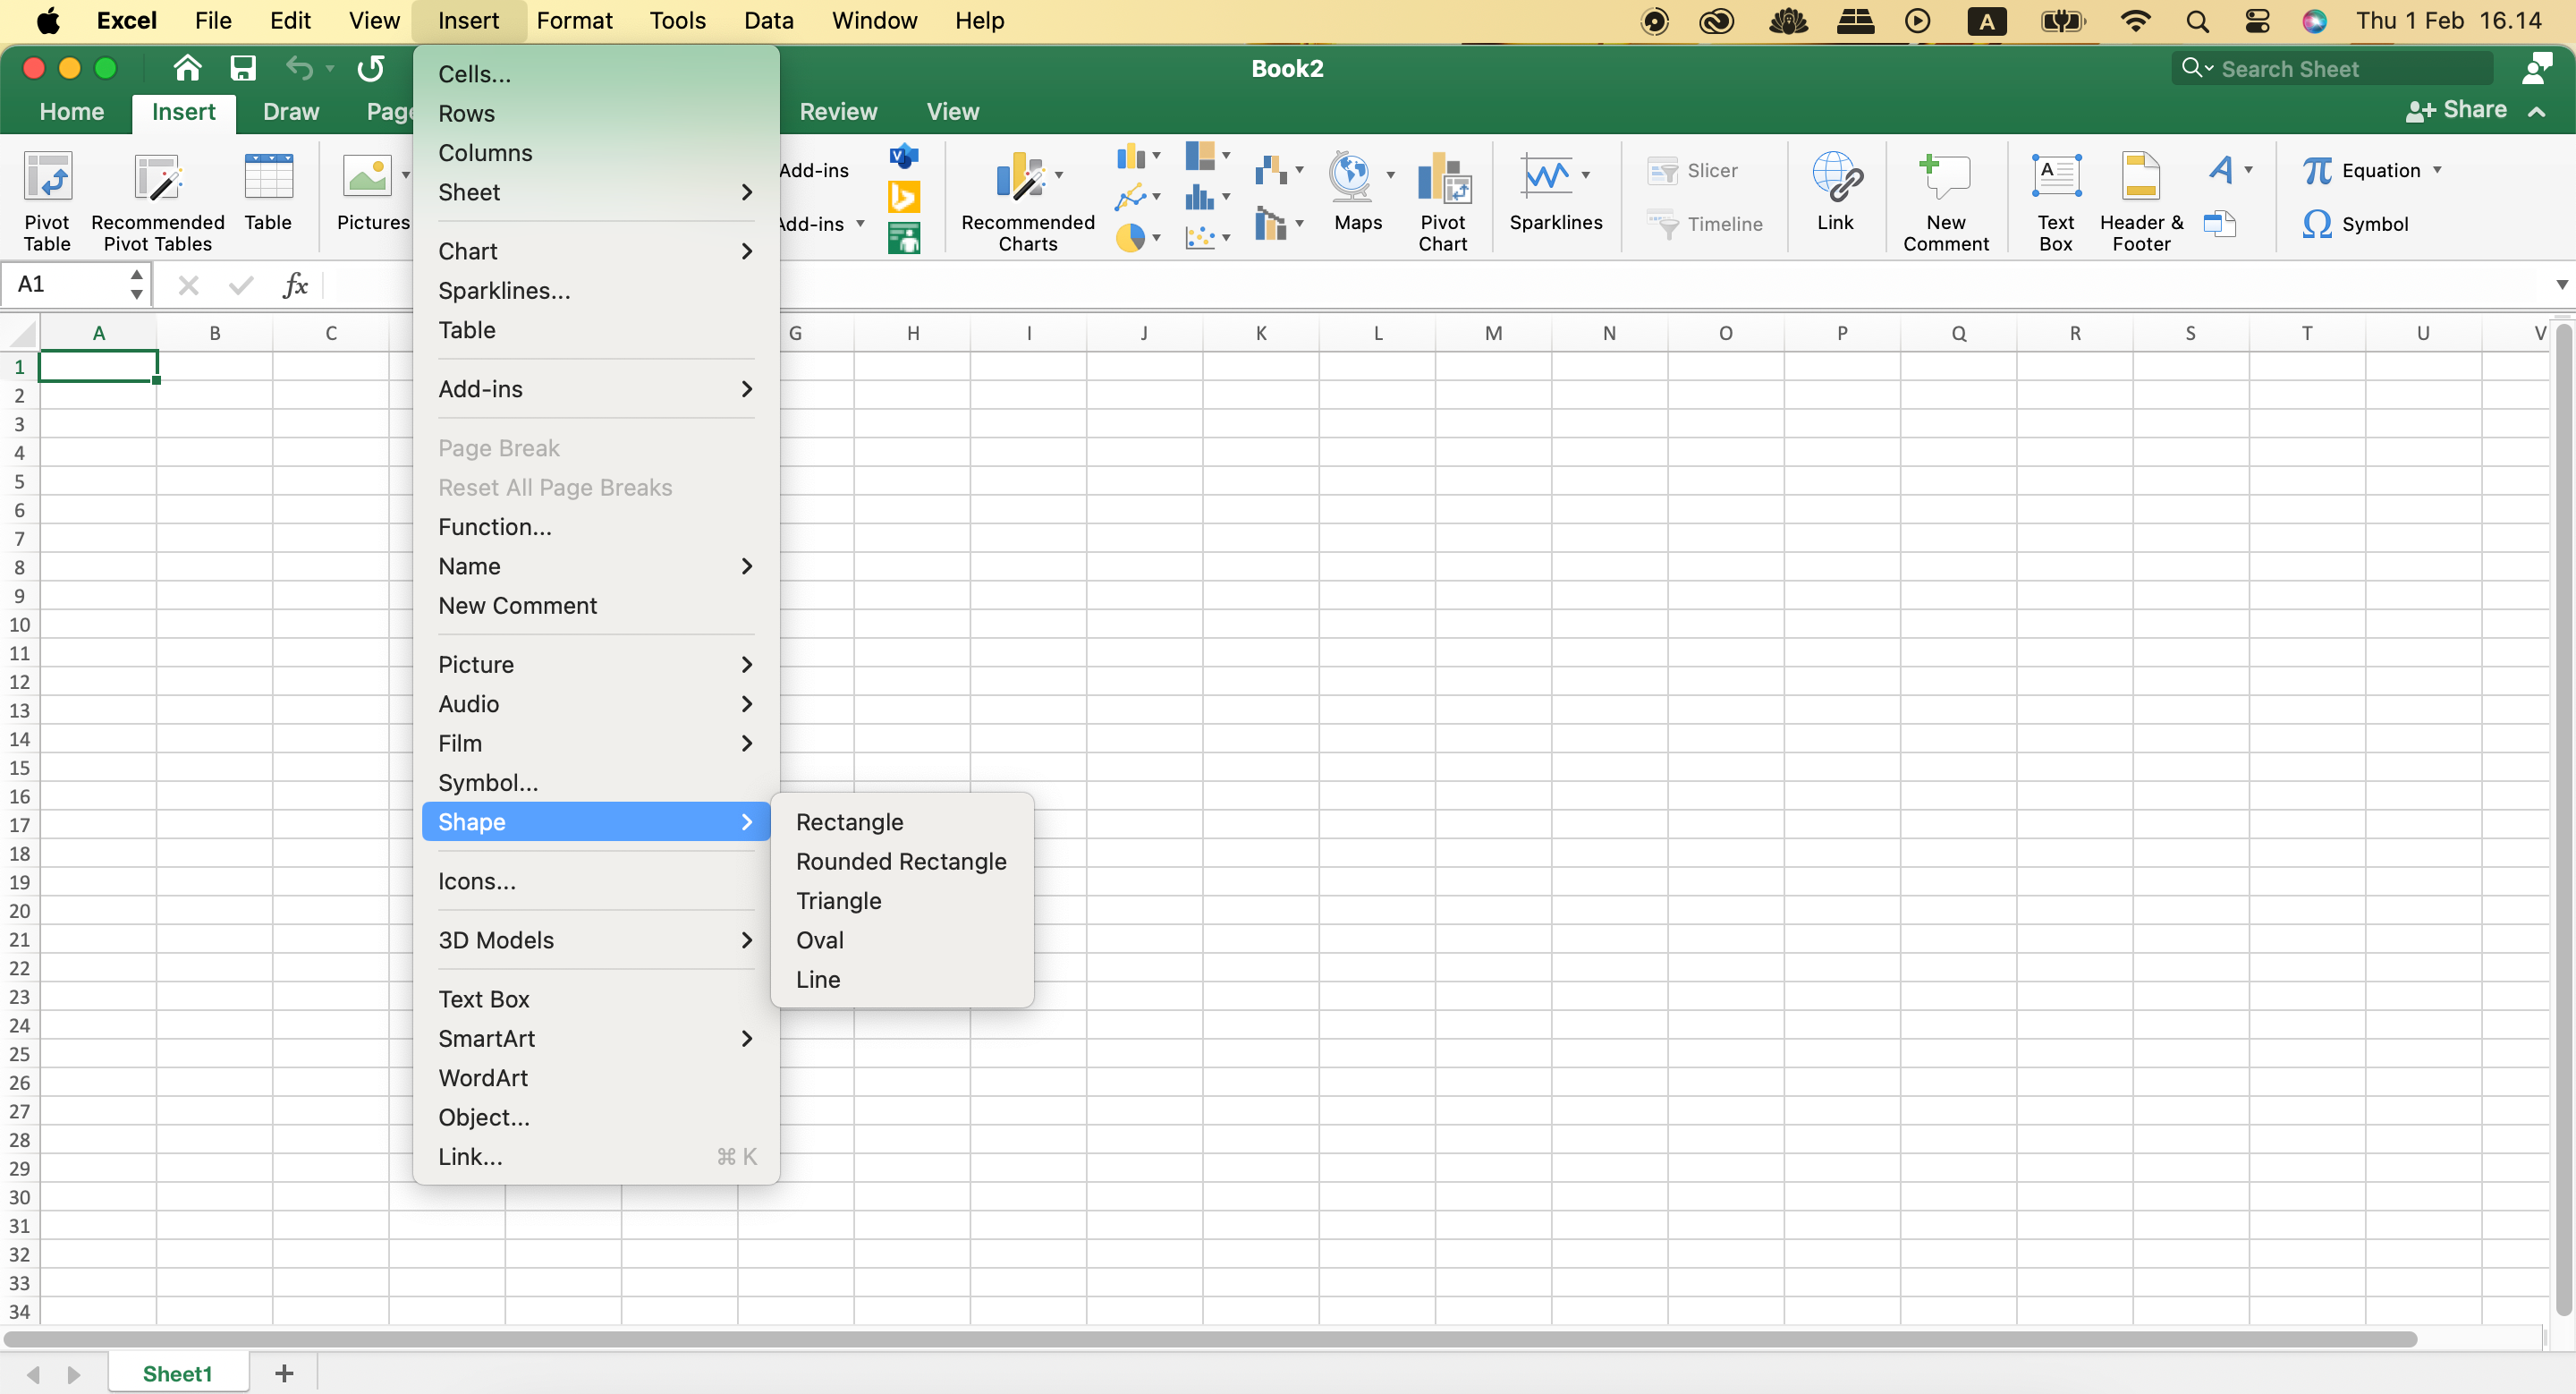
- For the shapes that will later host your text boxes, select Oval, Rectangle, or Rounded Rectangle.
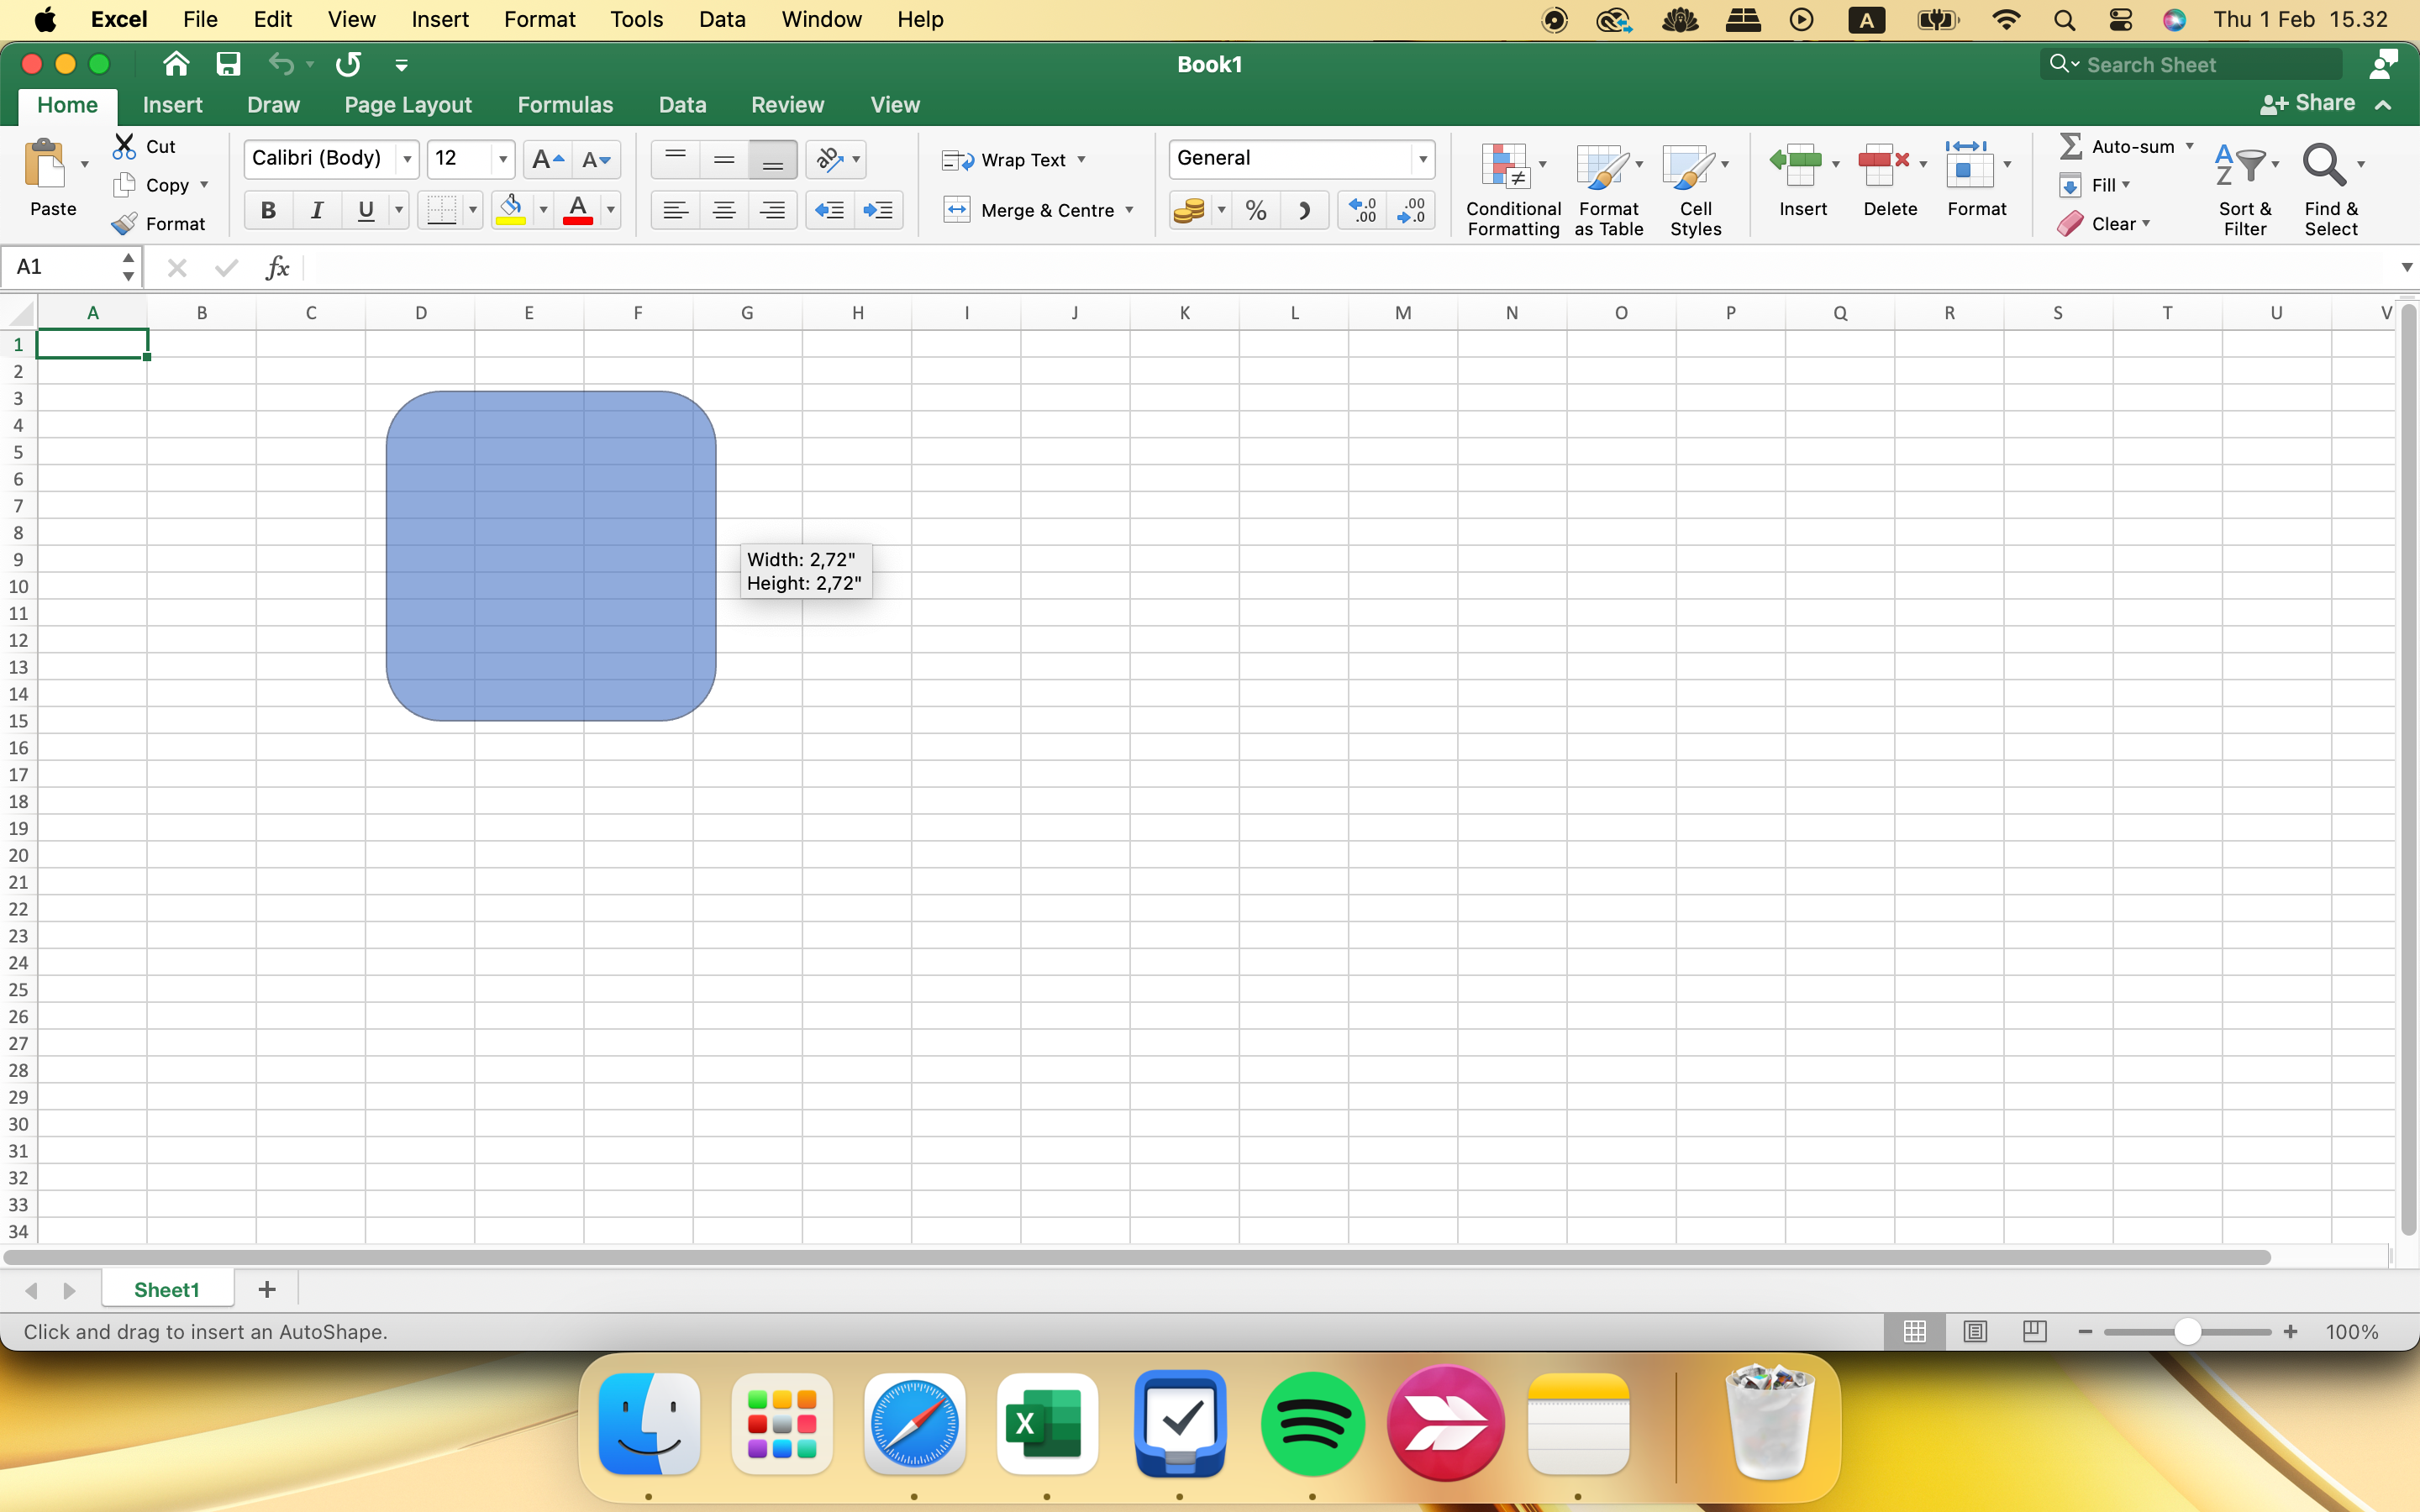
- Draw the shape on your Excel spreadsheet.
- Press Ctrl + C (Windows) or command + C (Mac) to copy the shape. Then, press Ctrl + V (Windows) or command + V (Mac) to paste as many times as you need.
- Add the lines by going to Insert > Shape > Line and drawing your first line. Then, copy and paste the lines for each box—before resizing as needed.
If you want to organize your life better, consider checking out the best uses of Excel in daily life.
Filling Out the Text for Your Decision Tree in Excel
Once you’ve added the shapes and lines for your decision tree, you will then need to fill out the text in each box. Follow these steps to do that.
- Click on the box to which you want to add a text box.
- Tap the Insert tab and select Text Box.
- Type in your text and change the font size, color, and so on.
- Copy and paste the text box, before editing the text, until you’ve completed the decision tree.
How to Use a Template to Create a Decision Tree in Excel
Excel doesn’t have a specific decision tree template within the app, but you can use other charts to achieve a similar result—such as a family tree. If you want to customize your decision tree with a template instead of making one from scratch, follow these steps.
- In Excel, select New and go to the search bar.
- Search for “chart”, “tree”, and similar terms until you find a template you want to use as a starting point.
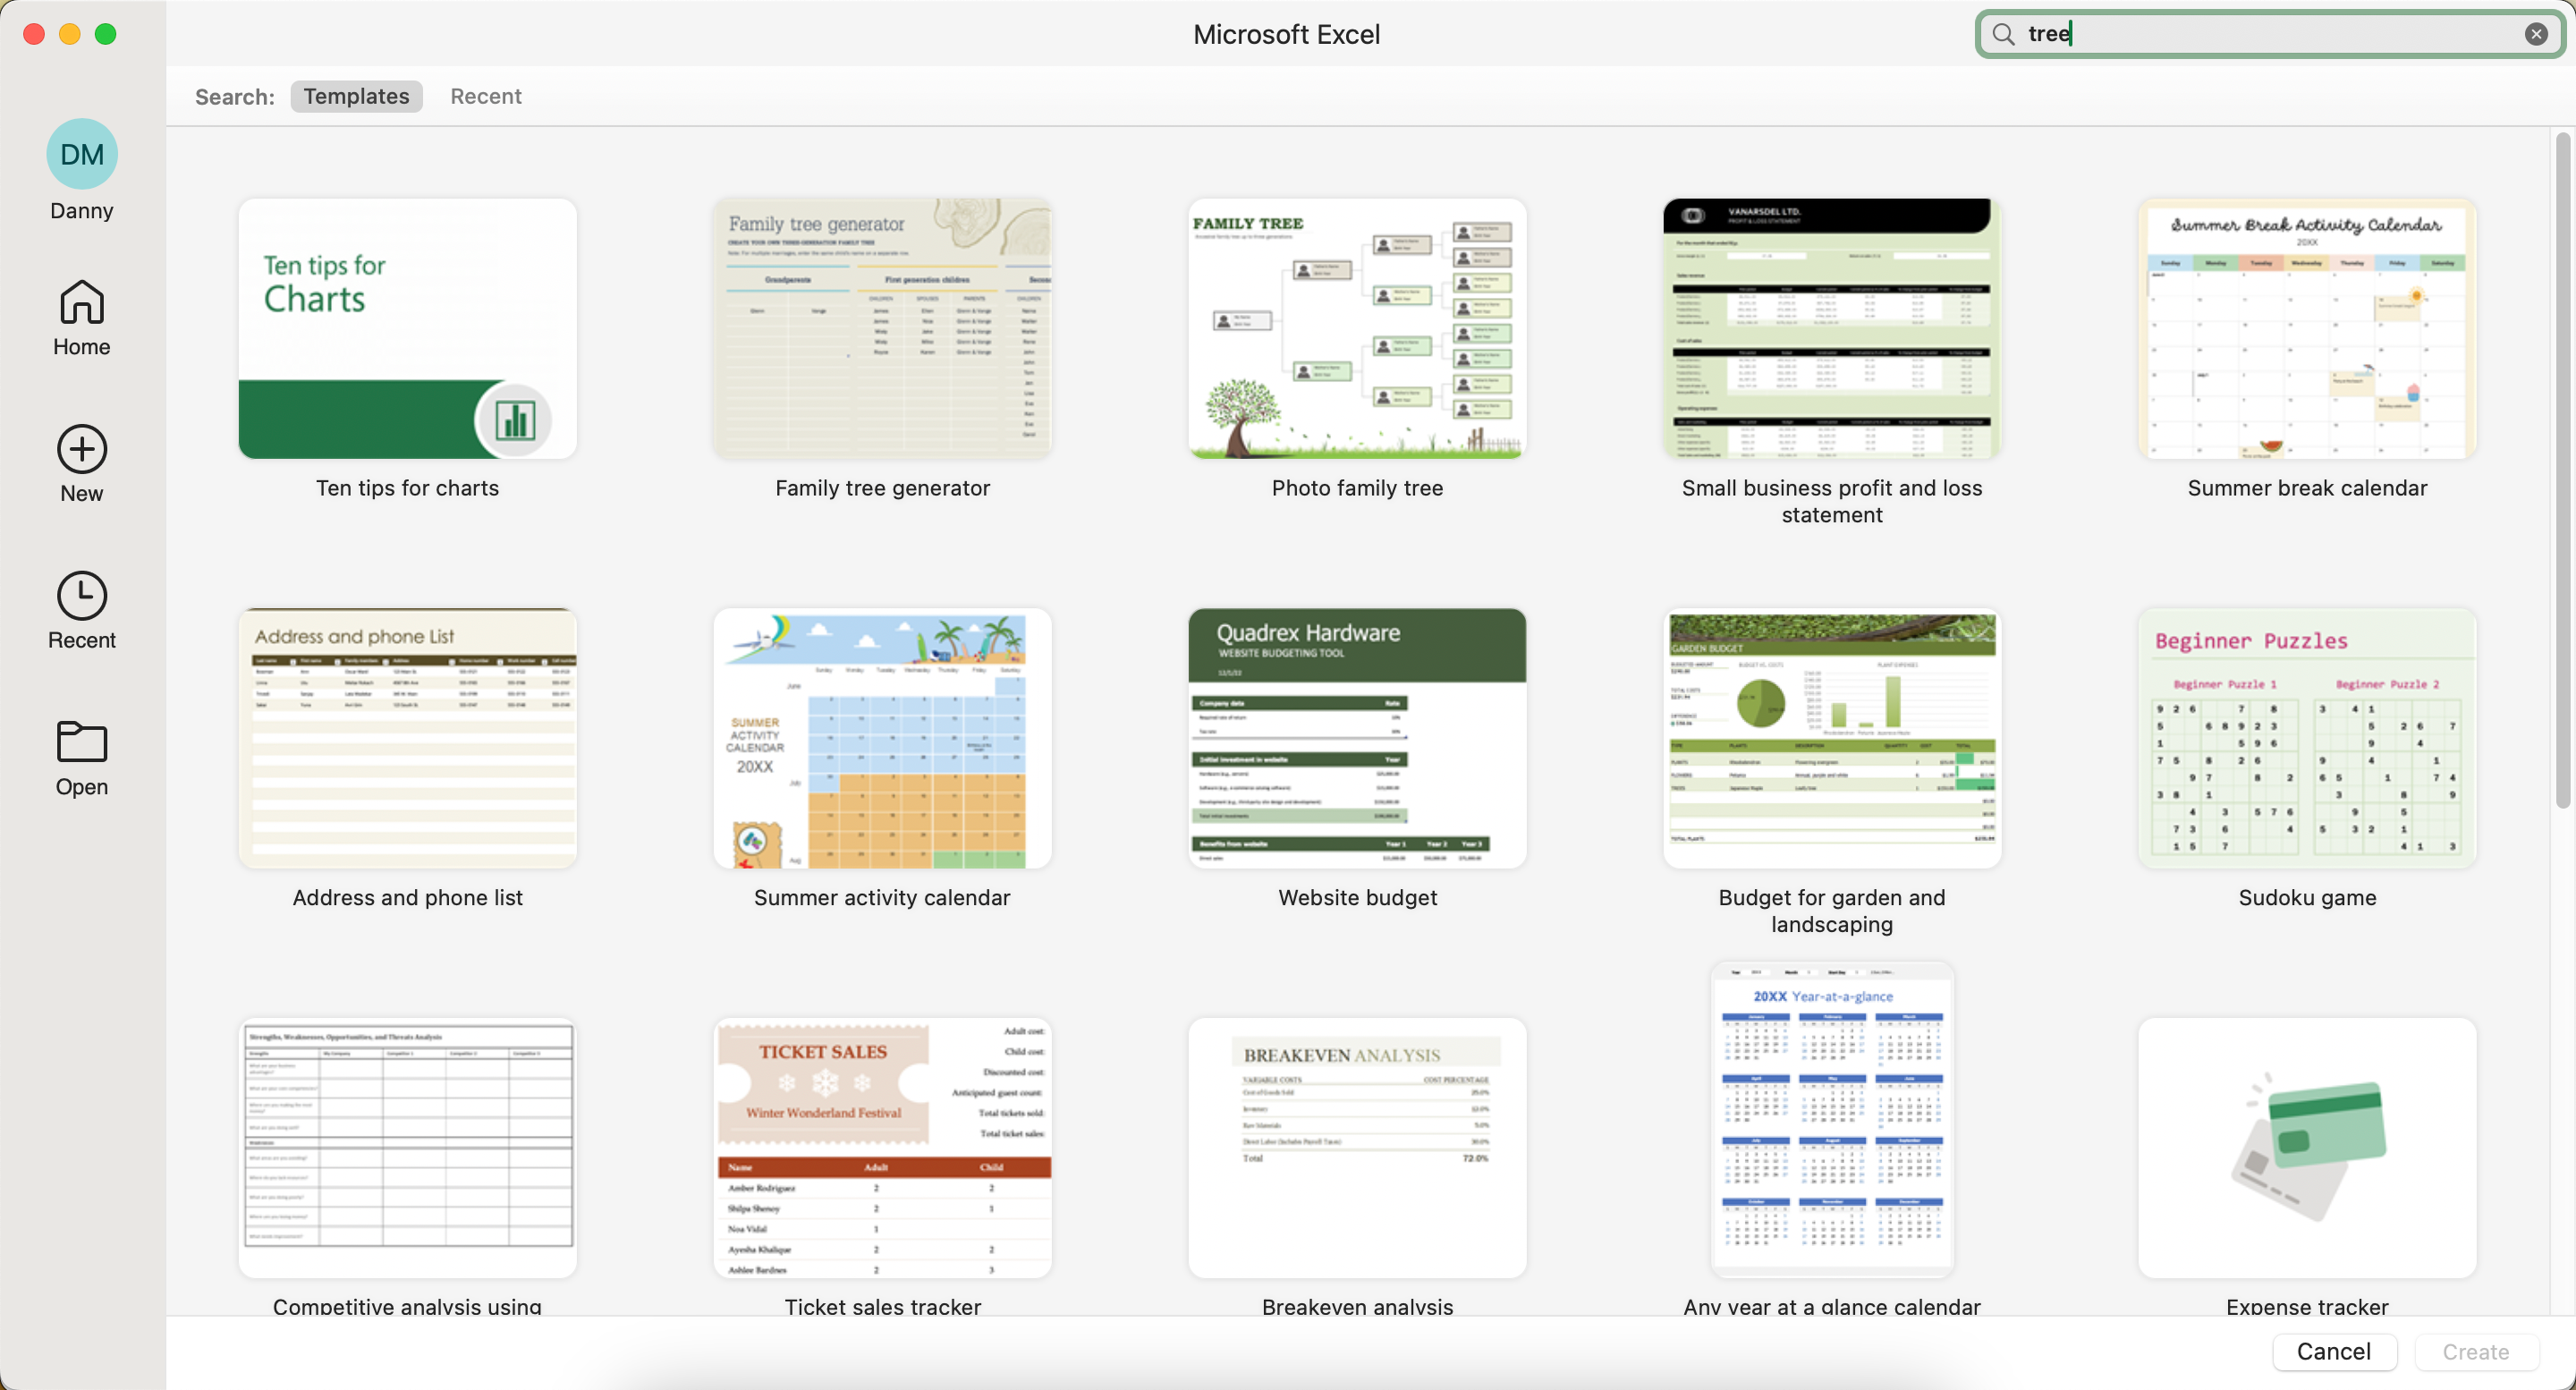
- Select Create and then customize the different elements until you’re happy with the end result.
If you want to create a specific family tree in Excel, make sure you find the best free family tree templates for Microsoft Word and Excel.
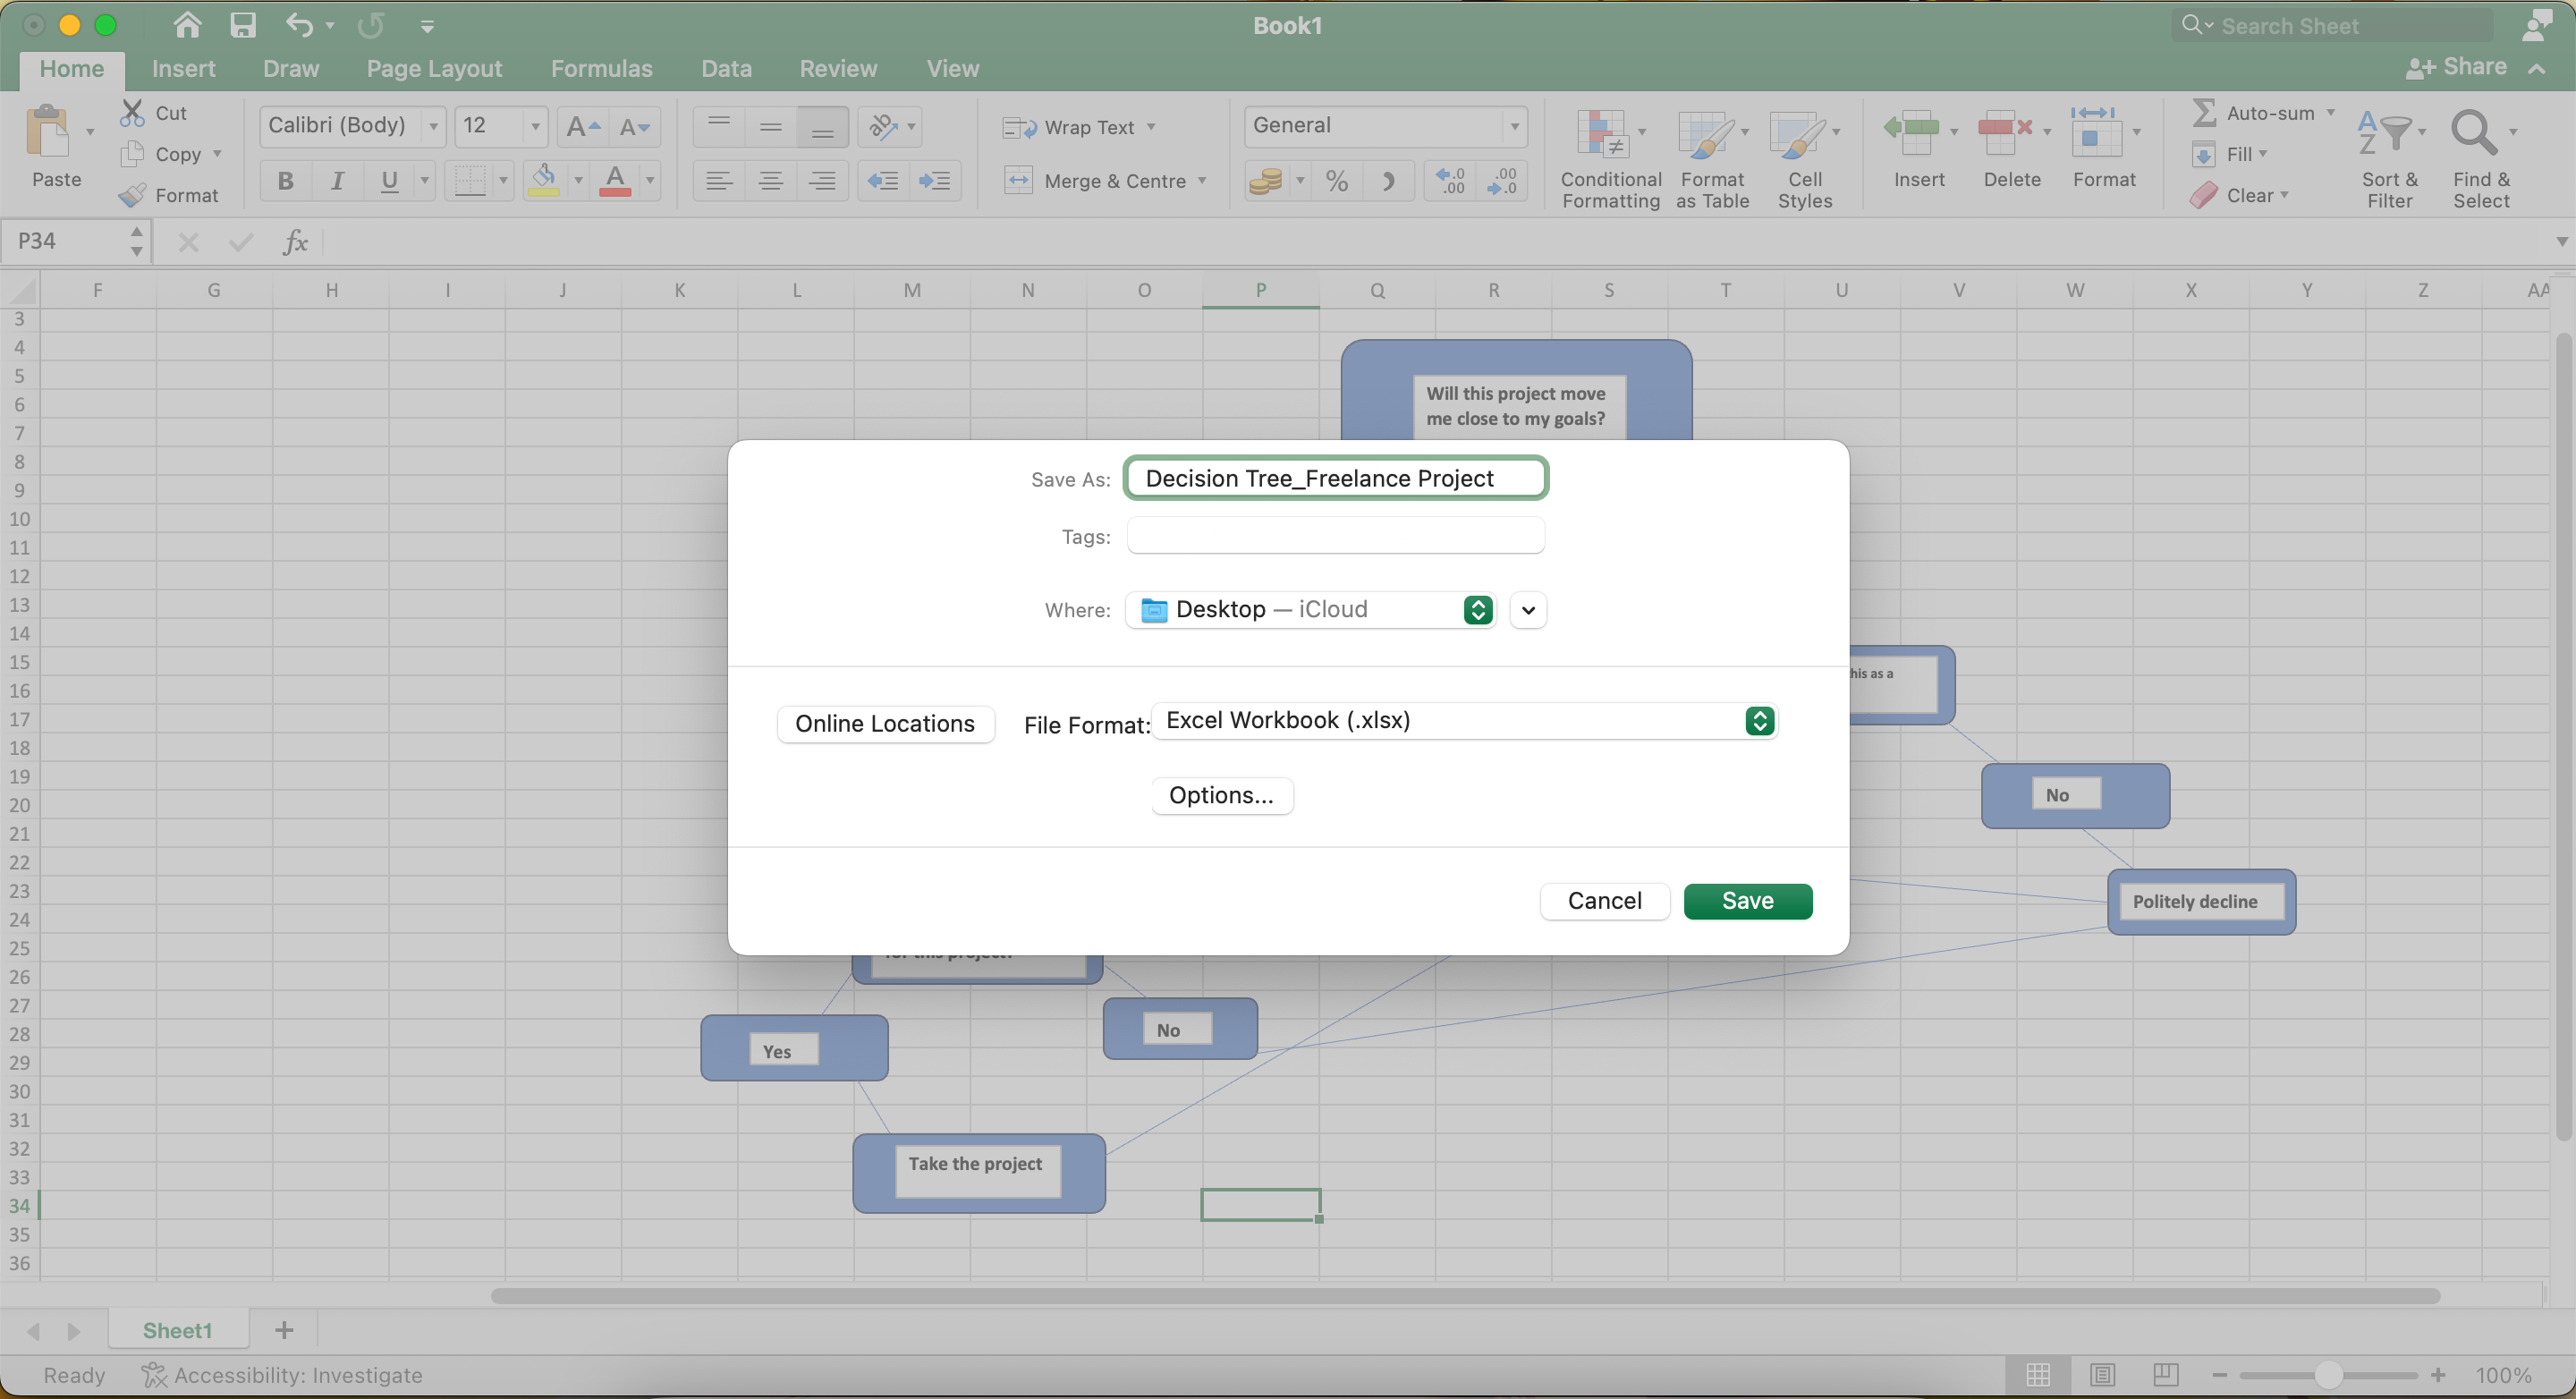
How to Export Your Decision Tree From Excel
Regardless of whether you make a decision tree in Excel from scratch or via a template, the process to export your completed project is identical. Follow these steps:
- Go to File > Save As.
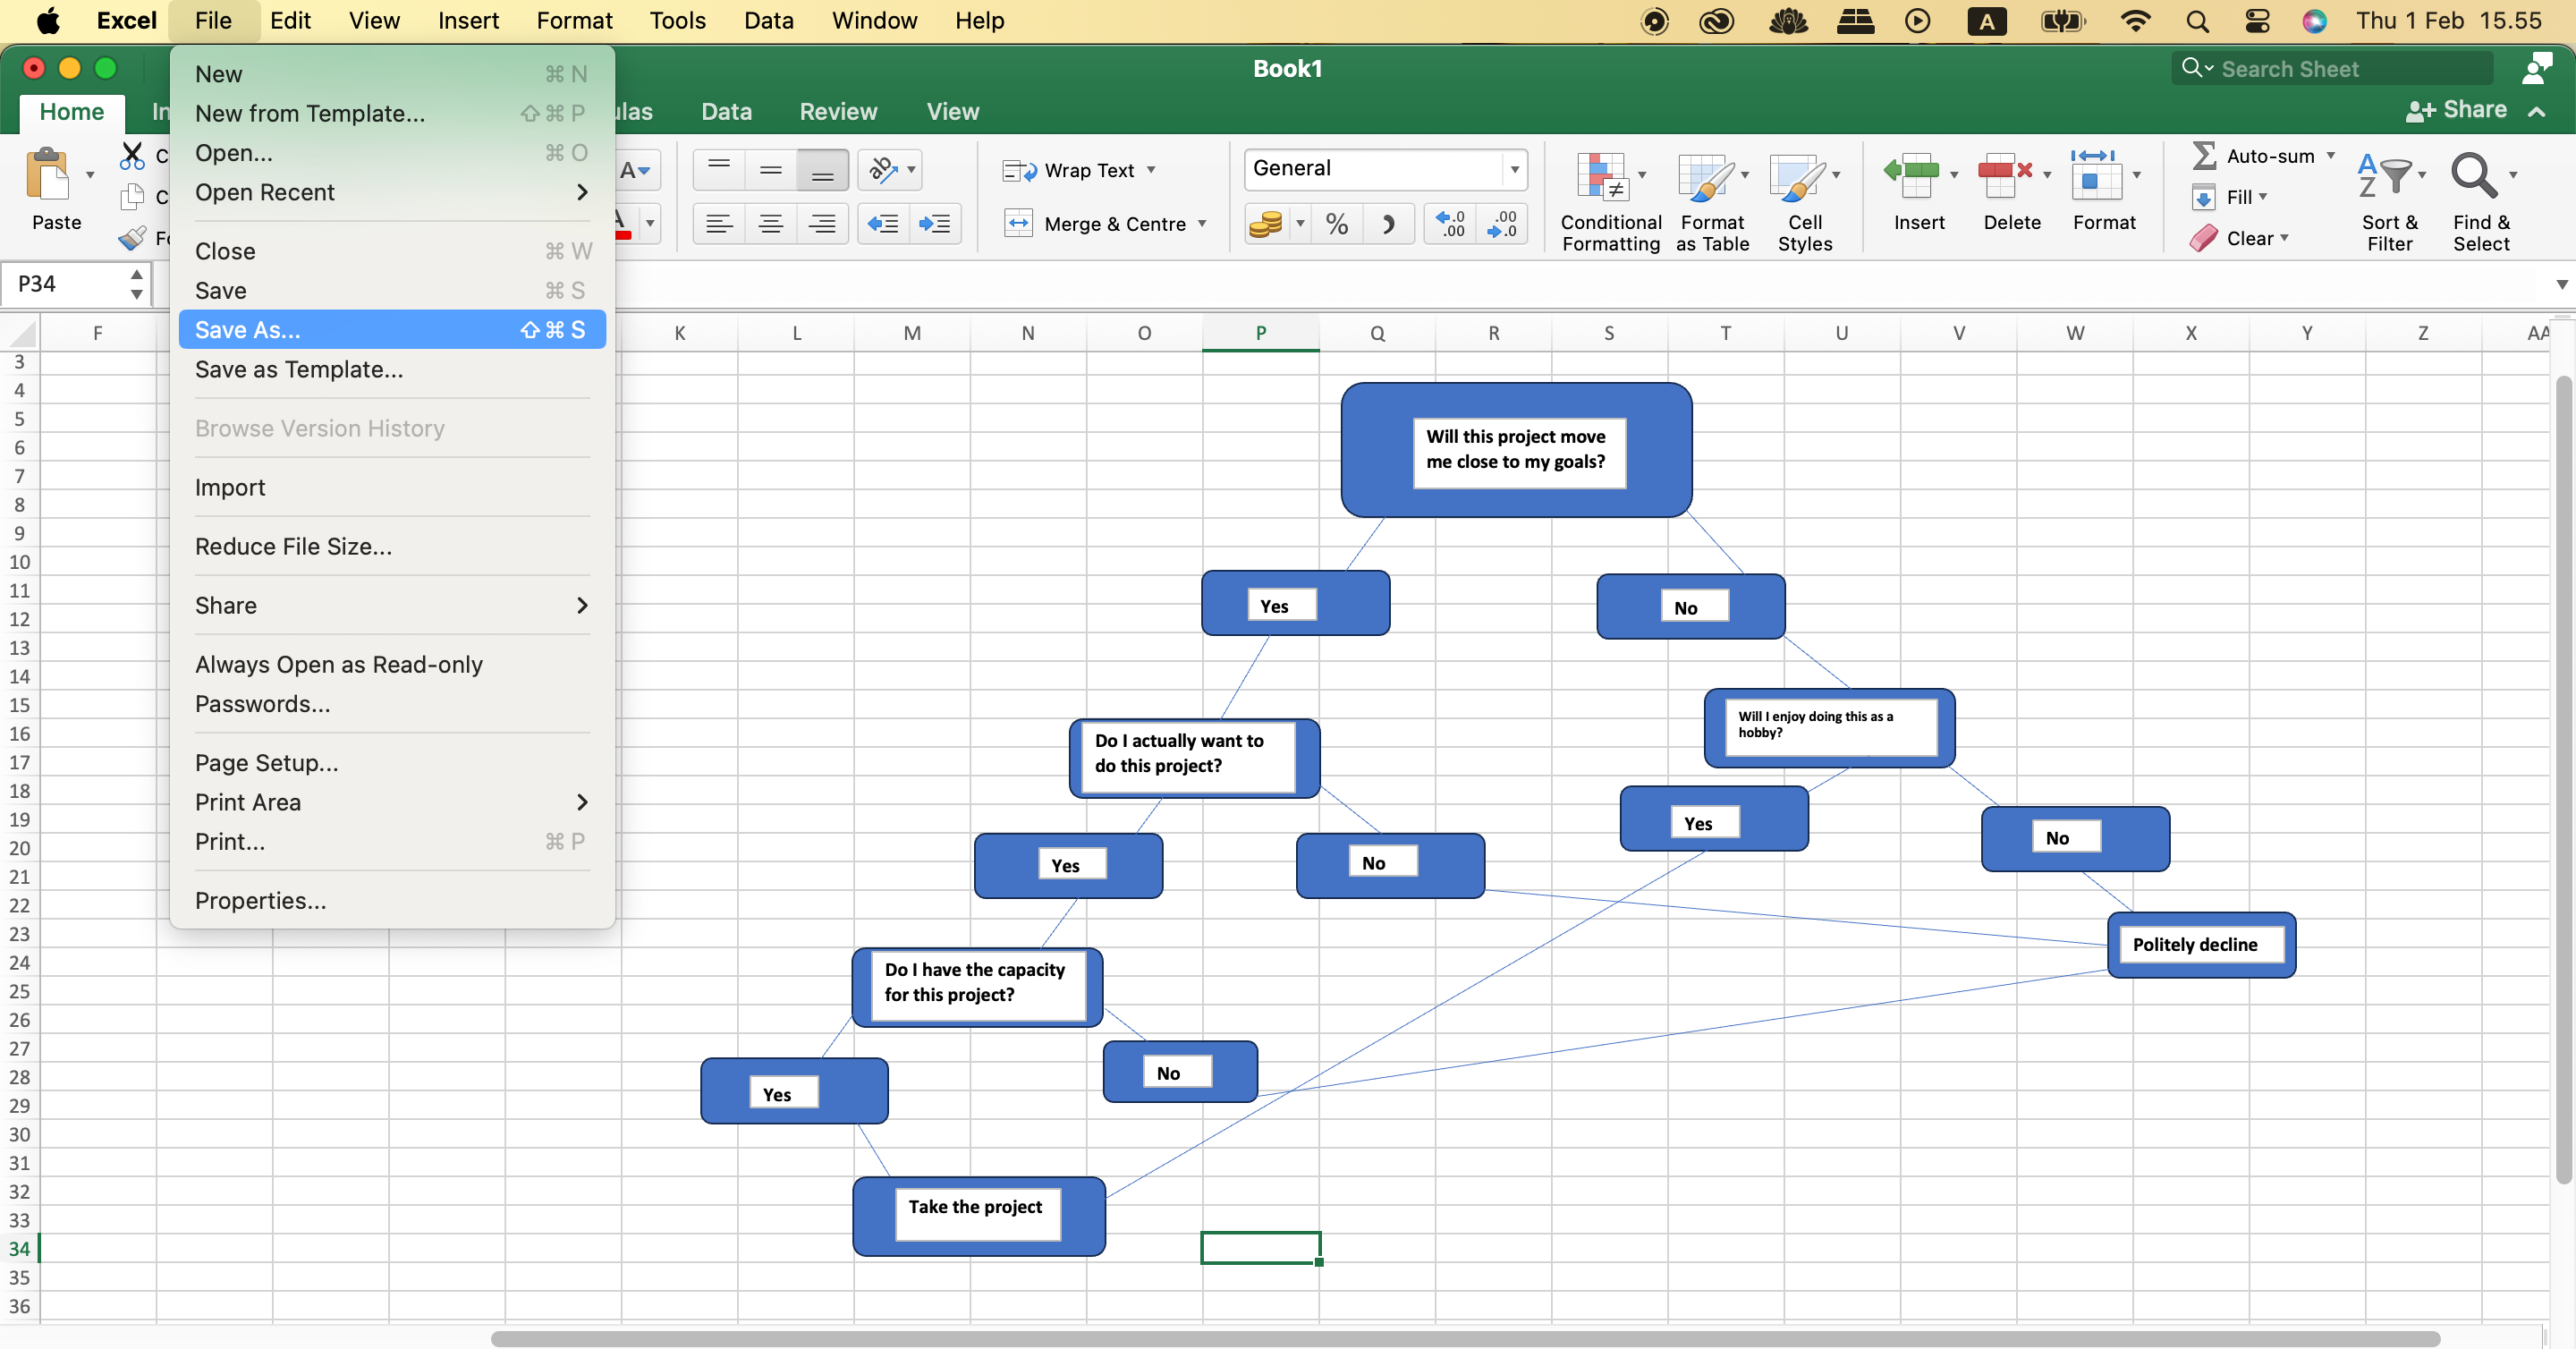
- Choose the location you want to save your decision tree and press Save.
Creating a decision tree in Excel is very easy, and you can even make multiple trees in the same workbook by making new sheets. Once you’ve done that, you will find it much easier to make the right decisions in all areas of your life. You can always refer back to your sheets and update them as and when you need.
source: MUO


